13.5 Obtaining an access token
Obtaining an authorization code is just the first stage. Now, you must use it to obtain an access token; only then can you call the API.
In this example, we are going to extend the web page you created in the previous example; see section 13.4, Creating a customizable form.
Edit the index.html that you created in the previous example, and change the description in the intro div, as this example now obtains an access token, not just an authorization code.
<div id="intro">
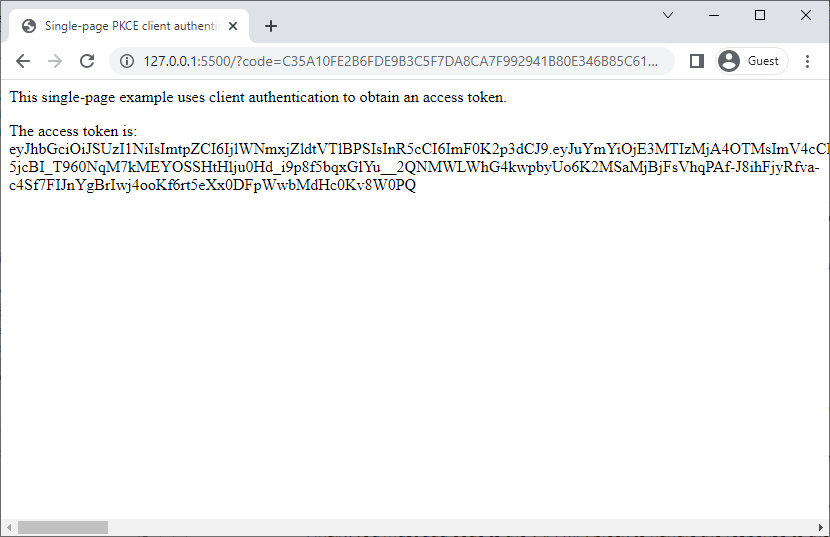
<p>This single-page example uses client authentication to obtain an
access token.</p>
</div>Inside the <script> block, extend the list of constants.
// MyID oauth2 token URL
const token_url = "/web.oauth2/connect/token";
// Code verifier
const code_verifier = "TiGVEDHIRkdTpif4zLw8v6tcdG2VJXvP4r0fuLhsXIj";
Previously you needed the authorization URL and the PKCE code challenge; to obtain the access token, you now also need the following:
-
token_url – this is the URL of the token endpoint of the MyID authentication server.
-
code_verifier – this is the PKCE code verifier, the counterpart of the code challenge. You provide the code challenge when you request the authorization code, and when you use the authorization code to request the access token, you pass the corresponding code verifier; the authentication server makes sure that they match before returning the access token.
Immediately after the constants, create a new HTTP request object that you will use to request the access token:
// Set up the HTTP requests
// The request object is used to obtain an access token
var request = new XMLHttpRequest();
In the previous example, if the authorization code was present, the web page displayed it on screen. Instead, you want to use the code to request an access token, so edit the if (code) section of the script as follows:
// If the code is available, use it to obtain an access token
if (code) {
    getAccessToken();
    }
else {
    // Create the form
    createForm();
}
Now you need to create the getAccessToken() function at the end of the <script> block:
function getAccessToken() {
    // Use the authorization code to obtain an access code
    // This retrieves the code verifier from the browser's session storage
    request.open("POST", server + token_url, true);
    request.setRequestHeader('Content-type', 'application/x-www-form-urlencoded');
    request.send('client_id=' + client_id +
        '&code_verifier=' + code_verifier +
        '&grant_type=authorization_code&redirect_uri=' + redirect_uri +
        '&code=' + code);
    document.getElementById("login").innerHTML="Working...";
}
This function uses the HTTP request object that you created above to POST a request to the token endpoint. It passes in the following:
-
client_id – the client ID you set up in the web.oauth2 custom client configuration file.
In this example, this is:
myid.mywebsite
See section 13.2.1, Adding the API client for details.
-
code_verifier – the PKCE code verifier, the counterpart of the code challenge you used to create the request for the authorization code.
-
grant_type – specifies the type of grant; in this case, to obtain an access token from an authorization code, use:
authorization_code
-
redirect_uri – the page to which you want the authentication server to return the access token.
-
code – the authorization code.
The function also replaces the form with a "Working..." placeholder while it is waiting for a response from the server.
Finally, you must add code to the end of the <script> block to handle the response to the HTTP request object:
// When the access token is returned, obtain it from the response.
request.onload = function() {
    let response = JSON.parse(request.responseText);
    let access_token = response.access_token;
    document.getElementById("login").innerHTML="<p>The access token is: " + access_token + "</p>";
}
This function parses the JSON response from the server and pulls out the access token. It then displays the access token on screen: